If you’ve ever tried editing an image, you know that it can be valuable to selectively remove a large portion of it or a single color. Photoshop and many image editing suites come with tools like the magic wand and lasso that will do their best to select part of an image for removal. Sometimes though, it can be faster and easier to simply remove all of a certain color to get to the part of the image you really need to edit. This is obviously most useful in an image with large areas of a single color.
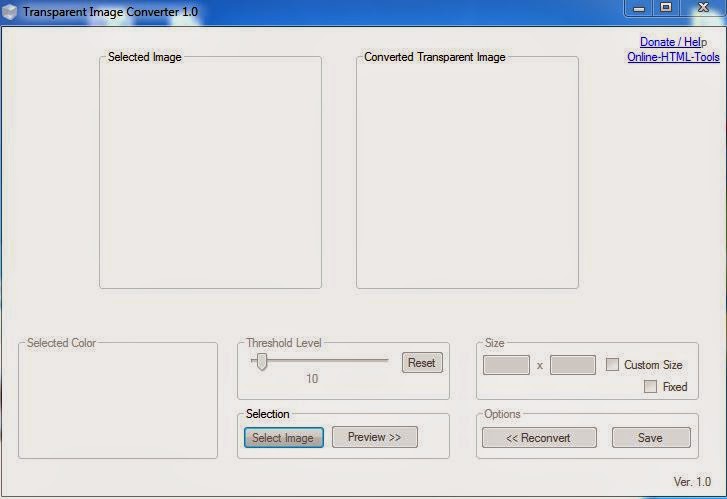
There is a Freeware program for Windows called Transparent Image Converter that can accomplish just this task. After downloading and installing the program, follow these simple steps to remove all areas of a particular color from an image. You can even go over the image several times if areas of slightly different color remain and you’d like to clean it further.
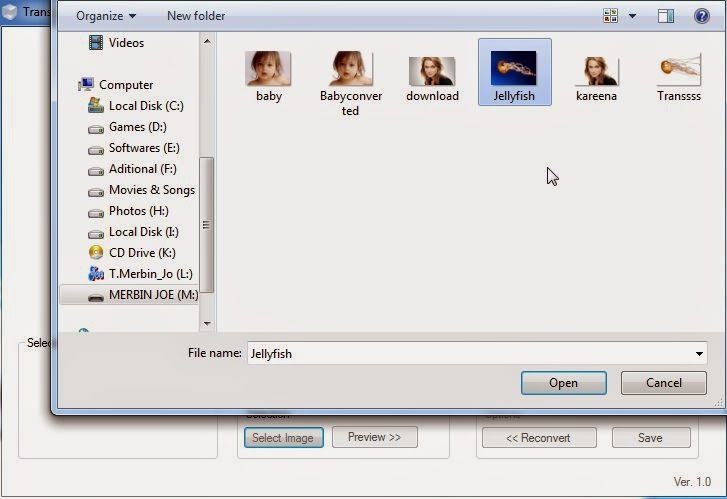
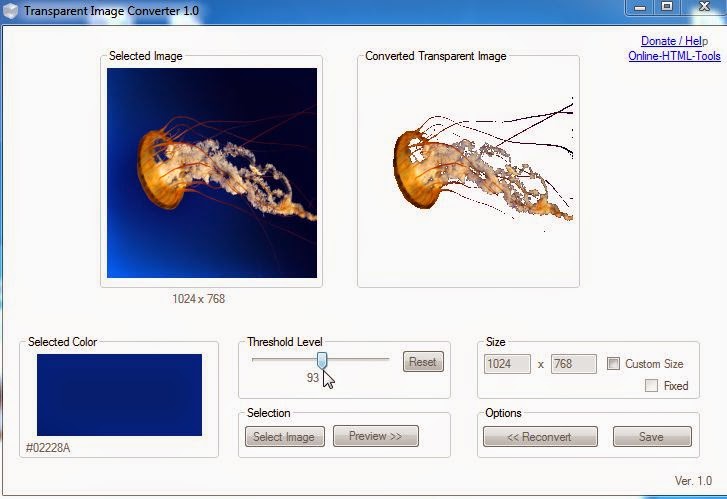
1. Click Select Image. Browse for the image you want to edit and select it.
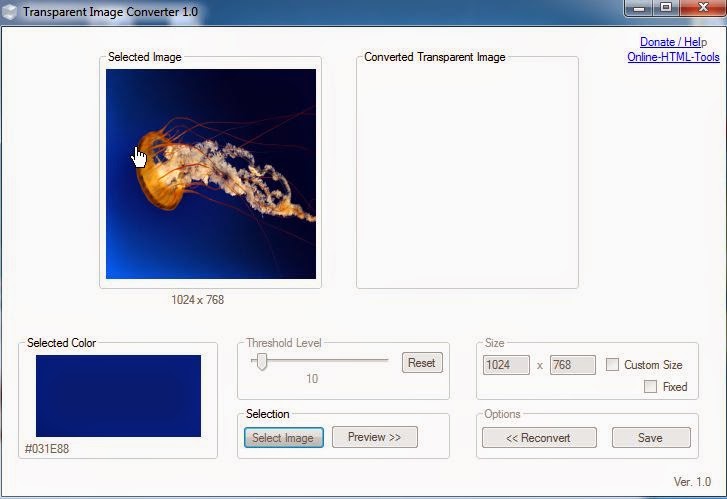
2. In the image viewing pane, mouse over the image and find the area with the color you want to remove. A color preview box below shows the color the mouse is currently on. Click the image once the mouse is over the right color.
3. Select a Threshold level and click Preview to see the results of removing the color. You can adjust the Threshold to get varying levels of removal.
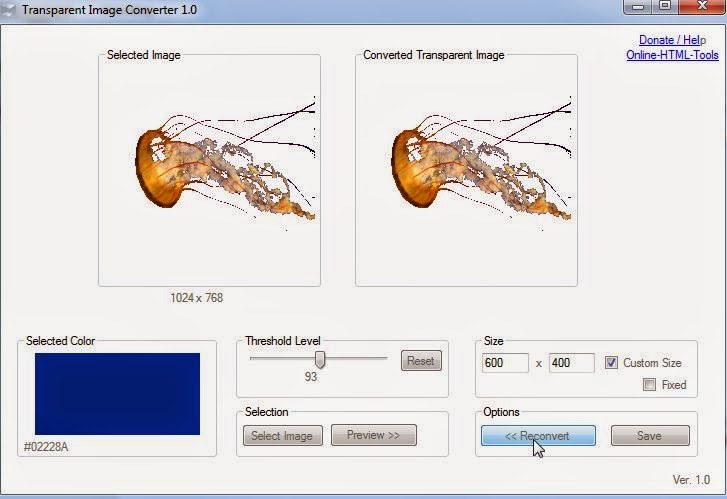
4. If you want to remove more color, click Reconvert under Options and the image can be edited again.
5. You can also resize the edited image by entering the new dimensions in the Size area.
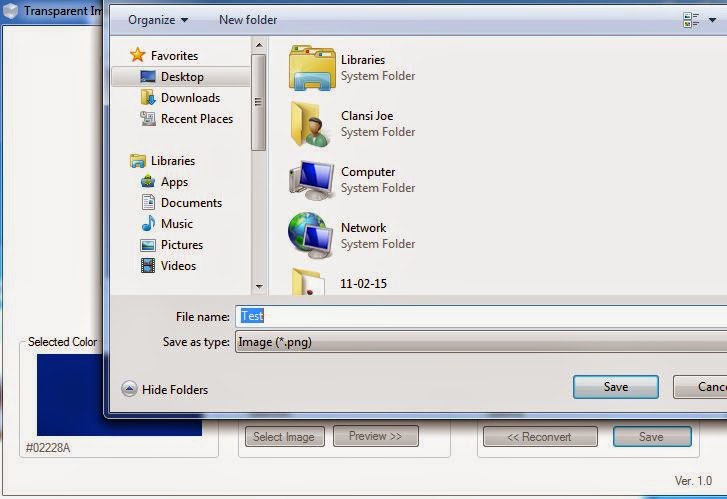
6. When you’re satisfied with the final result, click Save.
Now you should have a much cleaned up image that’s free of the colors you don’t want. It’s a very handy editing tool for a specific and useful task.
Source: Transparent Image Converter 1.0