3D Logo Designs play important role when it comes to success of any business, and selecting right mockup to showcase your logo design is crucial factor to impress your valuable clients. Good logo mockups are not just enhancing presentations but it also help in saving a lot of time and efforts. Clients always want to see how logo will look on finished product. Today we have gathered around 25& 3D logo design mockup PSD and Vectors templates for your business. All uploaded makeups are available in high quality content and will provide you full support in work process. So you should try to find a suitable logo mockup to make your design concept more realistic.
3D Steel Logo Mockup
You can use this freebie, you could quickly create your own perspective logo concepts in 3D embossed steel and present them to your valuable client. The PSD files comes with smart object layers.
![]()
Download
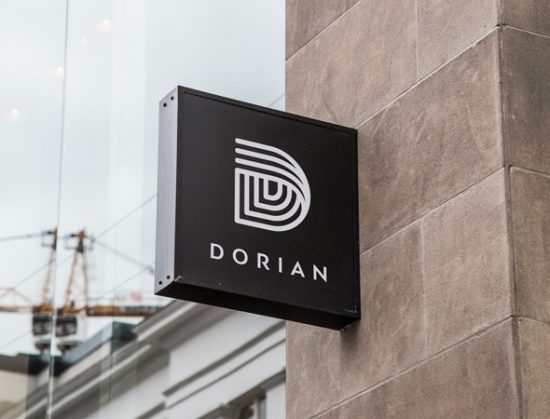
Hanging Wall Sign
It is high-quality 3d PSD mockup for your logo. You can replace your shop’s name in that smart objects and you are all set in just few seconds. You can also use the file and the artwork both for personal use and commercial use.
GemGfx Realistic 3D Logo Mockup
![]()
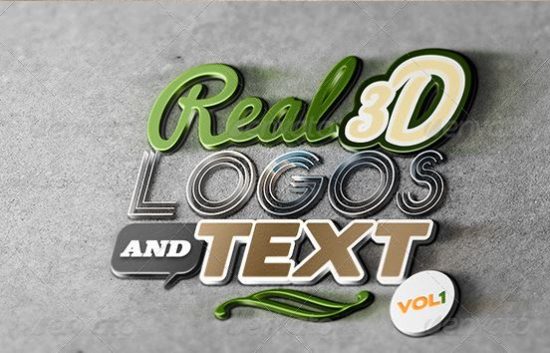
Real 3D Logos And Text – Vol1
This is a collection of logo mockups that features few different mockup templates featuring 3D and realistic designs. The bundle includes few unique and real photo-based mockups that you can use to showcase your logo designs in an attractive way.
Free 3D Logo Realistic Mockup With Heart Free Psd
A 3D logo mockup template for showcasing logo or signage designs. It comes with fully organized layered, separated shadows, and editable colors for easier customization.
![]()
3D Logo Mockups V.3
This pack also includes unique logo mockup designs featuring 3D effects.
![]()
Realistic 3D Logo Mockup
Features:
- Fully Layered PSD
- 2000×2000 px
- Easy to edit
- PDF Instructions file included
![]()
Envato 3D Logo Mockups
Features:
- Fully Layered PSD
- 2000×2000 px
- Easy to edit
- PDF Instructions file included
![]()
Free Download 3D Wall Logo Mockup PSD
Use this photorealistic hanging wall sign mockup to create a distinctive presentation for your next branding project.
![]()
3D Mockup For Logo
The popularity of the 3D logo designs are again on the rise, least in presentation. Download away the high resolution PSD mockup right now and move with to customize according to your requirements and whims to stand out from the crowd.
Password: thankyou
Realistic 3D Logo Mockups
![]()
3D Wall Logo MockUp #2
Showcase your logo as a wall mounted sign or just add depth to it with this photorealistic mock-up. The PSD file is complete layered and includes smart objects to make your work a breeze.
![]()
3D Text/Logo Effect PSD
Simple and jolly 3d logo mockup in psd for simple and easy use.
![]()
3D Wooden Logo MockUp
It includes several different styles, including metallic wall sign, wooden sign, burnt wooden sign, paint illustration, and more.
![]()
3D Logo Signage Wall Mock Up
Notice: All images & fonts are not include in 3D Logo Signage Wall Mock Up.
![]()
3D Outdoor Logo Mockup PSD
![]()
Download Free White 3D Font Logo Psd Mockup
![]()
Download
Photorealistic 3D Logo Signage Mock-Ups
- Present your logos or other works with photorealistic 3D views
- 6 photorealistic presentations
- Well organized layers and groups
- Easy end fast editing via smart objects
- 3000×2250 pixel resolution
- This item comes with an User Manual
![]()
3D Logo Mockups Vol.2
5 High Quality Mockups, 100% Unique & Selfmade textures/patterns, Realistic Depth of Field, Layered and Customizable PSD File, Smart Objects, Clever File Compressing Techniques (only ~60mb).
![]()
3D Wall Logo MockUp
Show off your logo designs as a wall mounted sign using this free logo mockup template. The PSD is fully-layered and you can easily edit its smart objects to place your own design.
![]()
Embossed 3D Logo Mock-Up Template
![]()
EMBROIDERED LOGO MOCKUP
![]()
Format: Layered PSD
Smart Objects: Yes
Dimensions: 2300×1600 px
Minimum Photoshop Version: CS4
Size: 11.2 Mb
Leather Stamping Logo MockUp #2
![]()
Format: Layered PSD
Smart Objects: Yes
Dimensions: 2200×1600 px
Minimum Photoshop Version: CS4
File Size: 6.7 Mb
Logo MockUps – Paper Edition
![]()
Format: Layered PSD
Smart Objects: Yes
Dimensions: 2300×1472 px
Minimum Photoshop Version: CS3
File Size: 54.1 Mb
Wood Engraved Logo MockUp #2
![]()
Format: Layered PSD
Smart Objects: Yes
Dimensions: 2300×1600 px
Minimum Photoshop Version: CS4
File Size: 10.6 Mb
Hi-Res, PSD, Realistic Logo Mockup Mock Up

Realistic Logo Mockup (FREE DOWNLOAD)
Ladyboss
Ladyboss is a massive premade branding logo package with loads of logo, texture, and font variations.
Download Link 1 | Download Link 2
Realistic 3D Logo Mockup (PSD) PSD download
just double click the smart-object layer named “YOUR LOGO HERE” and add your logo or text and save the.
3D Wall Logo MockUp
One of the most beautiful high-quality mockup of 3D wall mounted sign. PSD file is available to easily customize.
Format: Layered PSD
Smart Objects: Yes
Dimensions: 4000×3000 px
Minimum Photoshop Version: CS4
Size: 105.9 Mb
Updated: 30 May, 2020


 The watchOS 2 update for the Apple Watch was set to be released today but has been delayed due to a bug that needs fixing before the full release. As this is a highly significant update and release, Apple will want to make sure that the transition is as smooth as possible so users will need to wait a little bit longer for the fix and release. In the meantime, it’s a good idea to get a refresher on how to perform an update on the Apple Watch and what you’ll need so you’re ready once the final watchOS 2 is released. Follow these steps to download and install updates to your Apple Watch or reset it if something goes awry.