In a world of countless apps on countless devices, we’ve all run into the occasional stubborn app that freezes and just won’t quit. It can be frustrating and a waste of time trying to force such apps to quit and they can even necessitate a shutdown of the device entirely. The Apple Watch with its smaller screen and less area to touch can make such freezes especially troublesome. Luckily, Apple’s software and the Apple Watch can be expected to run without issue the vast majority of the time. Should you ever encounter a frozen app however, force quitting it is extremely simple. Follow these steps to force quit any app that is currently running on the Apple Watch.
1. Press and hold the side button (the smaller button just under the Digital Crown) for a few seconds.
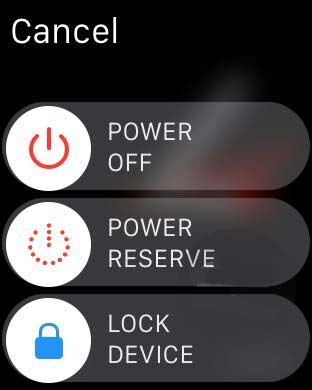
2. Continue holding the side button and some sliders will appear (Power Off, Power Reserve, Lock Device).
3. When you see these sliders appear, let go of the side button. Then press and hold it again.

4. The running app will force quit and you’ll be back at the home screen.
Once the app has force quit, you can simply start it up again or run any other app. It’s a very simple process and thankfully makes use of the physical button on the Apple Watch. This is a great way to prevent any issues if the touch interface is frozen so you can always default to the actual button on the watch to force quit an app. Using the side button is also a nice way to prevent smudging your pretty Retina display as you tap away at the frozen app trying to get it to respond.
As stable as it currently is, future software updates and improvements should only serve to increase the reliability of the Apple Watch and its apps. Hopefully the need to force quit an app will be a very rare occurrence indeed and you can continue to enjoy your Apple Watch with blissful ease.