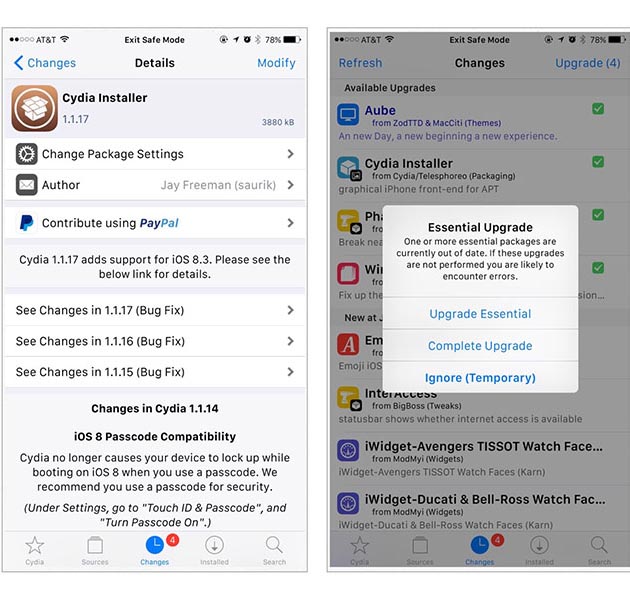
If you’ve jailbroken your iOS device using the newly released TaiG tool but have been waiting for Cydia compatibility, it’s now here. With a few simple steps, you can download a fix for Cydia which will enable most tweaks to run as intended using the new jailbreak. You’ll need to have successfully performed the jailbreak to update Cydia. Then, just follow this procedure to get Cydia Substrate working again. Note that not all tweaks have been tested and many still do not work but this process enables many of them.
1. Launch the Cydia app.
2. Install iFile and then close Cydia.
3. Browse to http://apt.taig.com/debs/taiguntether83x.deb in Safari.

4. Tap ‘Open in iFile‘ near the top right.
5. iFile should open the .deb file and you can then install it.

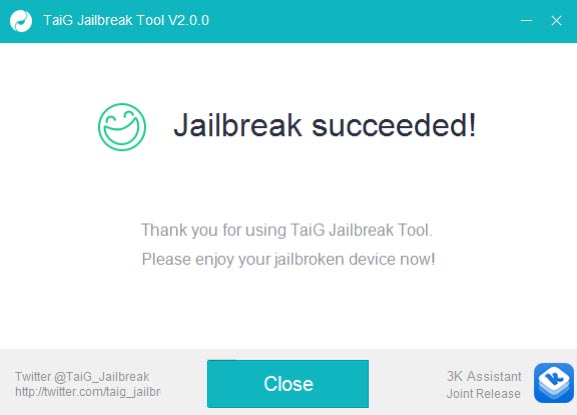
6. Once installed, reboot your device.
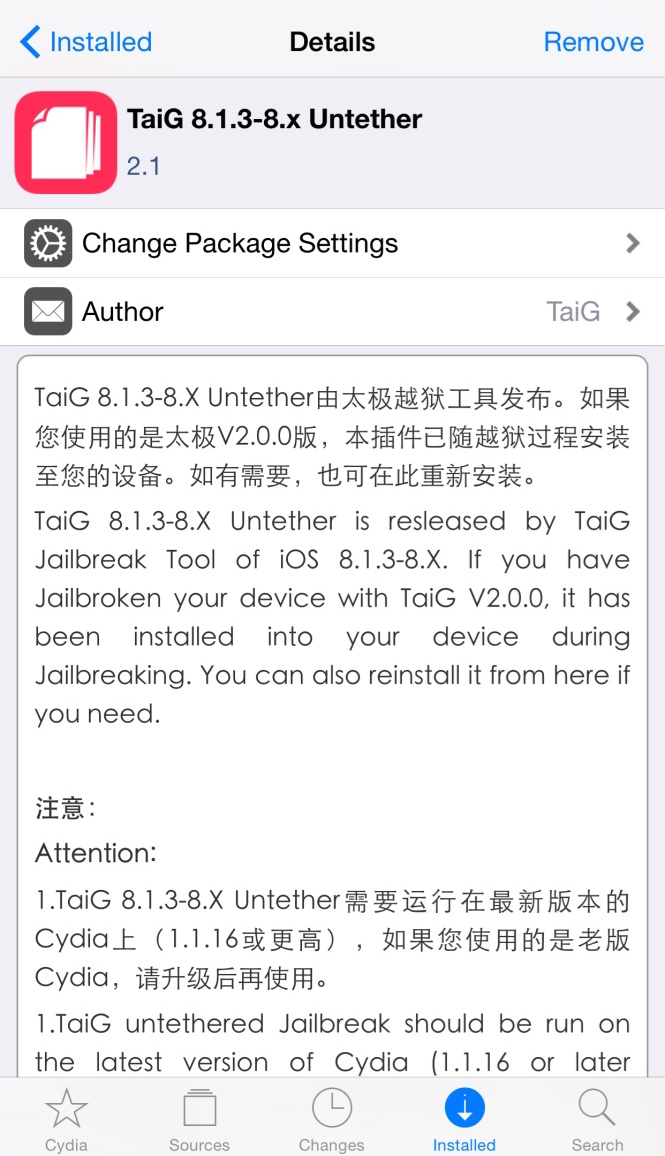
7. Launch Cydia again and it should be fully functional again. Many tweaks will now be compatible with the latest jailbreak.
The TaiG team is apparently planning to release an updated jailbreak tool, TaiG 2.1 which includes this patch. Once the new version arrives, new jailbreaks won’t require these additional steps to get Cydia working. If you haven’t already done the jailbreak, you could just wait for the TaiG update which will likely be released soon. If you’ve already jailbroken your device, you do not need to wait or perform it again.
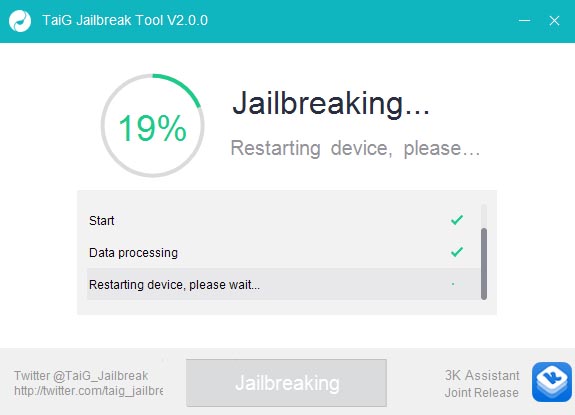
These are still the early days of this new jailbreak so it’s best to wait and have patience if you don’t want to deal with some of the bugs to be ironed out. Developers are working to make the process even simpler and remove these additional steps to a fully functioning jailbreak. In the meantime, if you’re feeling adventurous you can go ahead with the TaiG 2.0 jailbreak and then get this patch to enable Substrate once again. Then just sit back and wait as more updates to Cydia and stability roll in.
-> How to Perform the TaiG 2.0 Jailbreak for iOS 8.3, 8.2, and 8.1.3