With the upcoming release of Windows 10, Microsoft has prepared an entirely new internet browser named Edge. Their public struggles with Internet Explorer are well known, with many having jumped ship to Google’s Chrome and Mozilla Firefox as alternate browsers. Microsoft has wisely ditched the old Internet Explorer brand for a complete refresh, hoping to capture their lost browser market share. Some users already have access to the Windows 10 beta and have been trying Edge out. It’s only natural to want to import your bookmarks and favorites from whatever other browser you’ve been using. The process is extremely simple, and with a few clicks you can easily import everything and seamlessly browse your favorite sites on Edge.
1. Launch the Edge browser in Windows 10.
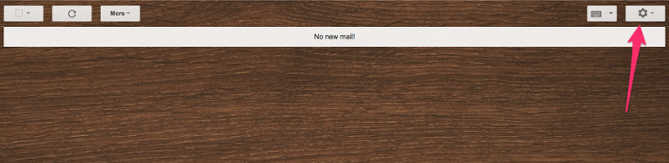
2. Click the three dots in the top right to open the dropdown menu.
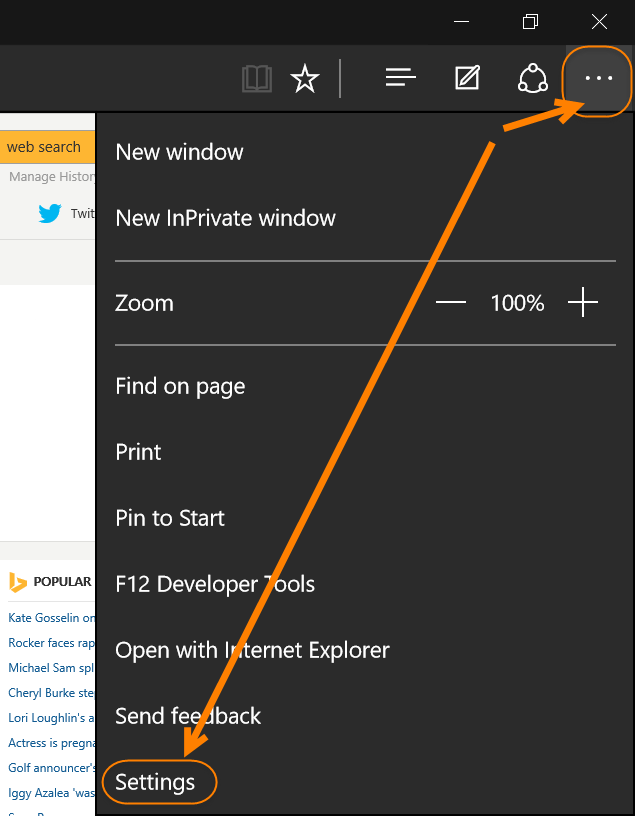
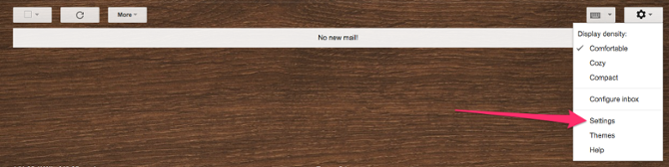
3. In the menu, click Settings.
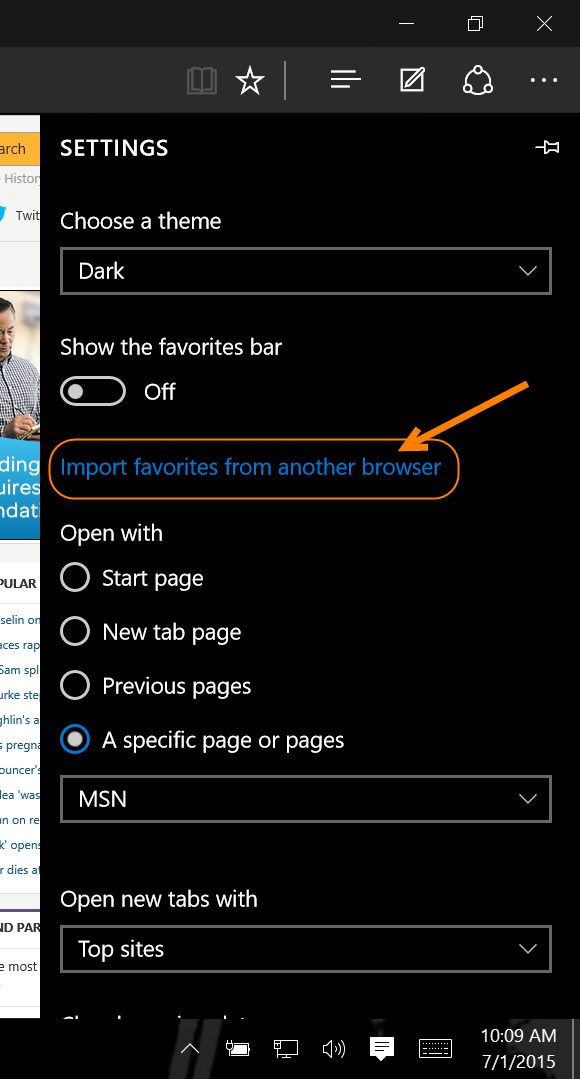
4. Under Settings, click ‘Import favorites from another browser‘.
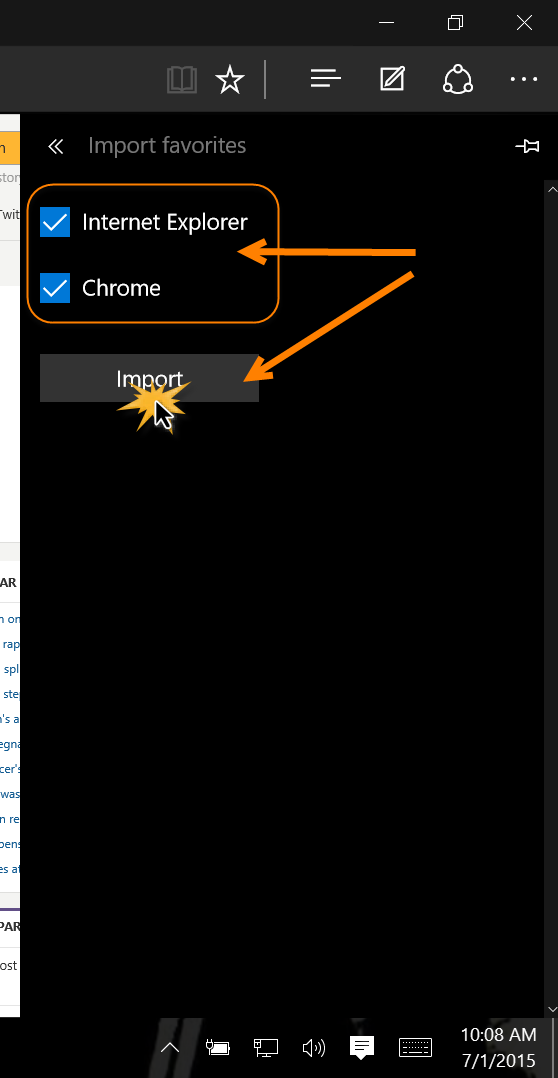
5. A list of compatible installed browsers will appear. Check the boxes for the browsers with favorites you want to import to Edge.
6. Click Import.
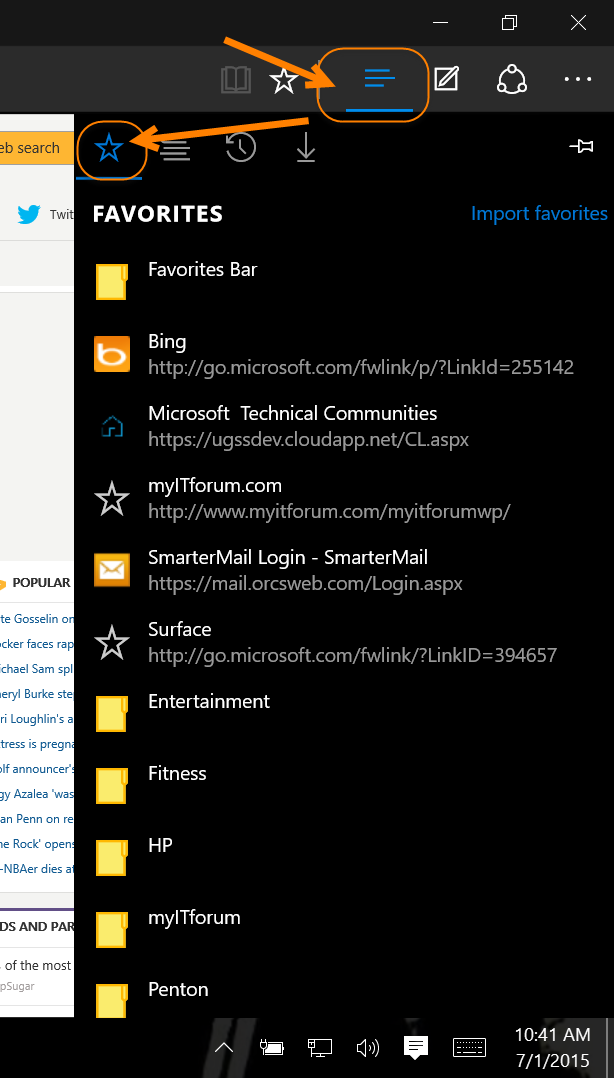
That’s all there is to it. Now, your favorites should all be available by click the icon with three horizontal lines, and then the star icon. If you switch between browsers and continue to add favorites to an alternate browser, you can simply repeat this process to keep all your favorites synced.
With all of your favorites at hand, you can now continue to enjoy the latest from Microsoft and see if Edge is worth the wait. Maybe you’ll even come to prefer it over the offerings from Mozilla and Google. Keep in mind that Edge is technically still a part of the Windows 10 beta and will be receiving numerous tweaks and upgrades both leading up to and following the full official Windows 10 release. Still, the process for importing favorites at least is about as simple and easy as it can get.