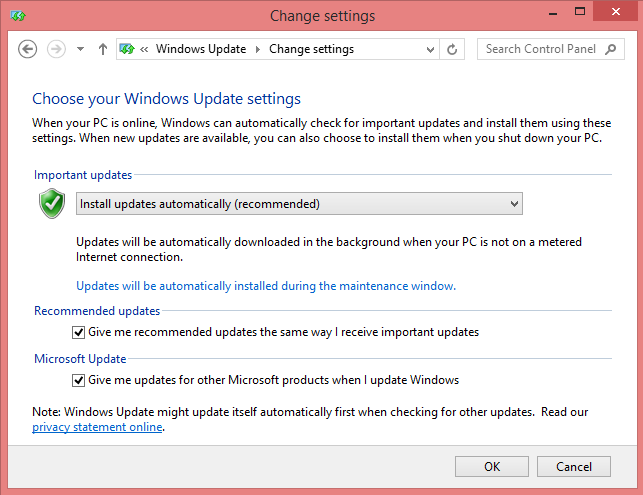
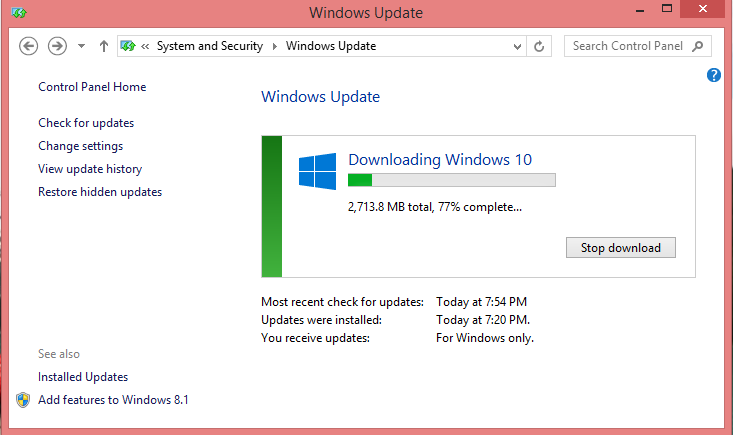
With users the world over upgrading to Windows 10, Microsoft has thoughtfully made ISO files available as well so the upgrade process can be streamlined. An ISO version is great if you need to upgrade multiple machines, install Windows 10 on a formatted device, or just prefer to have a backup in case you need to make repairs or do another install. Luckily, the Windows 10 Pro ISO is available to download from Microsoft and no key is required upfront. You will of course need a genuine key when you actually install Windows 10 however.
Before you begin, you’ll need to make sure you have enough storage space for the relatively large Windows 10 ISO file. You’ll also need a USB or DVD to write the files to so you can make bootable media to install Windows 10. You might also want to double check if your PC is fully compatible with Windows 10. A stable internet connection is highly recommended as the file size is large and you don’t want to have it be corrupted and have to download the entire thing again.


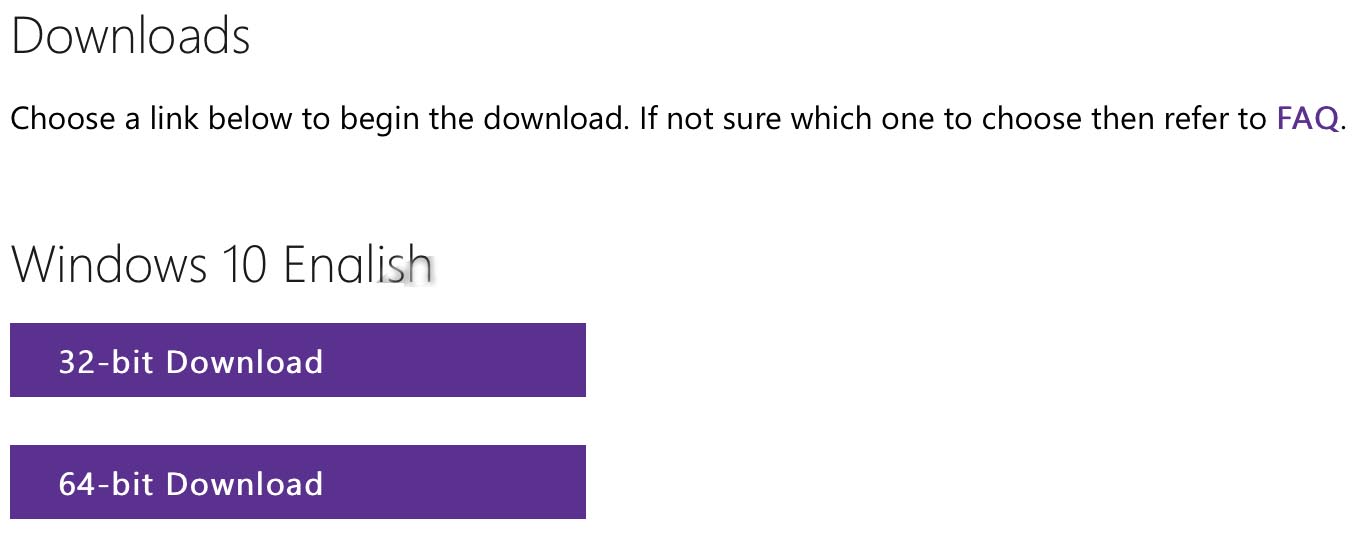
If you’re all set, head on over to the Microsoft’s Software Download page here. Then simply select Windows 10 Home or Windows 10 Pro, select your Language, and then either the 32-bit or 64-bit version depending on your system. Once you’ve made the relevant selections, the download should begin and once it’s done, you’re ready to install and enjoy Windows 10!
The process is very simple and thankfully Microsoft has eliminated virtually all of the hassle of upgrading to a new OS. The way the Windows 10 launch has been managed bodes well for the future of Microsoft and Windows 10. It’s a great time to be a Windows user and the free upgrade certainly doesn’t hurt.