Installing a new OS from a bootable DVD or USB has many advantages. You could also upgrade over the internet from your version of Windows 7 or 8/8.1 but that would only apply to that individual PC and there is a chance that the download could be disrupted. With a bootable device, you can ensure that you’ve downloaded the update files and then apply the upgrade (or fresh install) to any number of devices as well as have a backup in the event something goes wrong. Thankfully creating a bootable USB or DVD is extremely easy and made even simpler with Microsoft’s Media Creation Tool. Follow these steps to create a bootable USB or DVD to install Windows 10.
1. Download and install the Media Creation Tool.
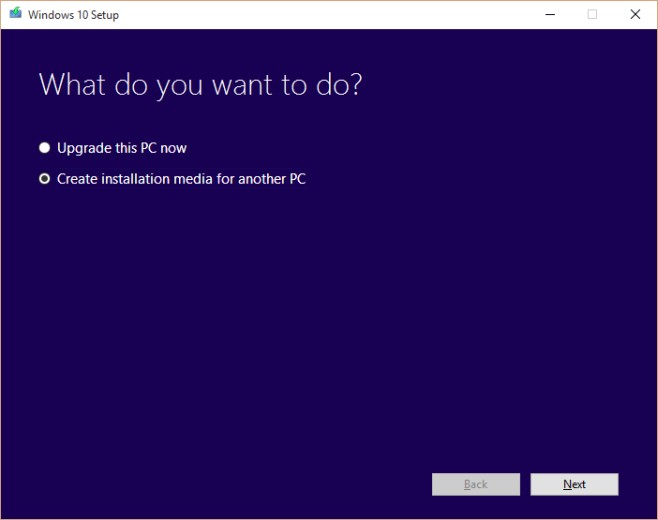
2. Launch the Media Creation Tool and select ‘Create installation media for another PC’.
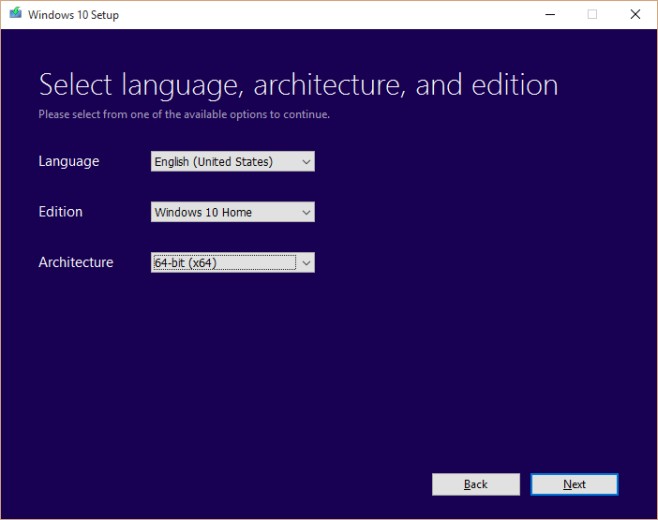
3. Now choose your language, Windows edition, and either 32-bit or 64-bit depending on your system’s processor.

4. Now choose whether to make a burned bootable DVD or a bootable USB device. For the DVD, you will need a blank DVD that can be burned with the ISO. For the USB device, you need a USB drive that has at least 3GB of free space. The USB drive will be formatted before use so make sure you do not have anything important stored on it, everything will be erased.
5. Now select either the DVD drive where your DVD is, or the USB drive that you have connected to your computer. Also be careful here if you have multiple devices connected. It’s best to remove any other USB drives or DVD drives that aren’t being used.
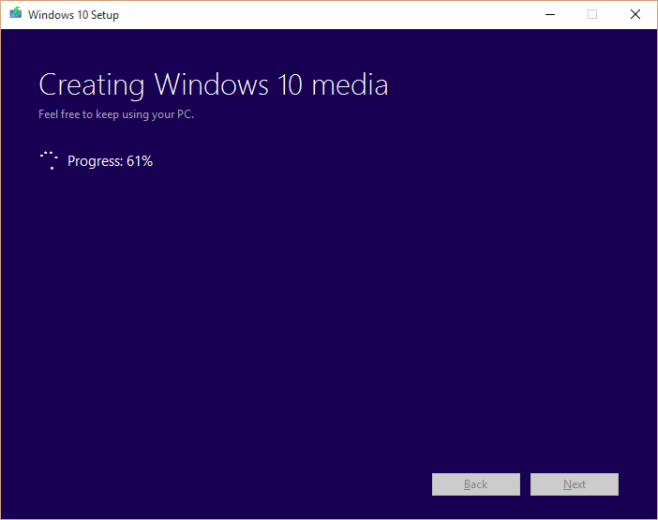
6. Once selected, the Windows 10 update files will begin downloading. Once the process is complete, the Media Creation Tool will write them to your DVD or USB device and make it bootable.
Once you have your bootable DVD or USB in hand, it’s a simple matter to begin installing or upgrading to Windows 10.