We’re all familiar with the window that shows up when you’re saving a file. The window shows the location that the file will be saved to, lets you name it, and lets you specify the type of file being saved. One annoyance of the whole process is that the window is often set to some arbitrary size which is often too small. That makes it harder to navigate, see what’s already present in the folder, and even make sure you’re saving the file in the right place. In Windows 7 and up, there is a small trick that lets you set a default size of your choosing for the Save As window for each app. Follow this procedure to specify a windows size for the Save As window.
1. Open any app that can save files. This can be Microsoft Word, Photoshop, etc.
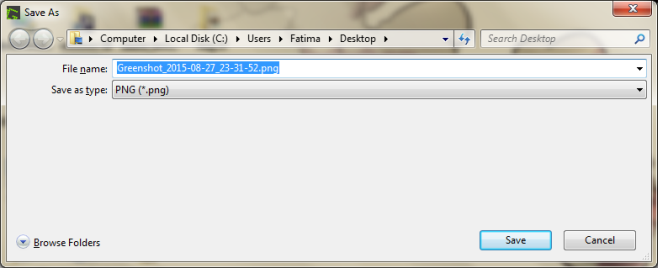
2. Then click Save As to open the Save As Window. You can also hit Ctrl+S to open the save window.
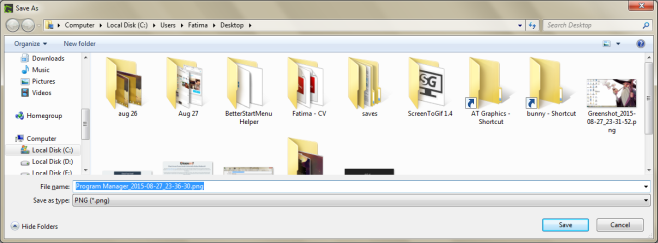
3. Resize the window so that at least one row of folders or files is visible in the window. You can also make it larger than this but not smaller.
4. Hold the Ctrl key down while clicking the close button on the top right.
5. Now when you go to Save As from that app, the Save As window will remember the size you set and will appear with that size from then on. The window can also be resized and set with the same procedure.
Unfortunately this has to be done on an app to app basis so you can’t just set a universal Save As window size. As long as you remember to perform the process on your most used apps however, you’ll only need to do it once and the window size will be remembered for future uses. This is just another small trick that can potentially save a few seconds that add up to a lot over time.