Step 1: Download and install the NVIDIA driver
NVIDIA driver is a special software developed for NVIDIA-based Graphics cards. This program enables GPU to communicate from Windows operating system to the GPU hardware. So, it is necessary most times for hardware to operate correctly on your PC. Visit the following official URL, and navigate the download page; it will provide you a drop-down list of different variants of NVIDIA GPUs. Click on the search button that will provide you the Driver download link.


Once downloaded, Install downloaded NVIDIA Driver on your PC.
Step 2: Download and install the CUDA Toolkit
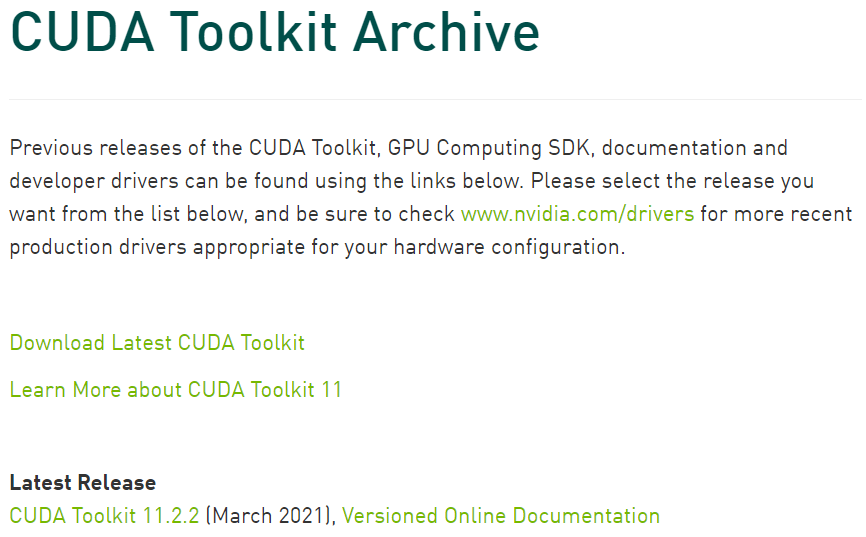
The CUDA toolkit provides the development environment for developing GPU-accelerated high-performance applications. With the support of CUDA, users can create, develop, and deploy applications on GPU environments. This toolkit is pack up with libraries, debugging, compiler, runtime, and optimization tools to build GPU-accelerated applications for x86, ARM architectures. Nowadays, so many old and latest versions of the CUDA toolkit are available on the official website. But we will install the newest version, which is available under the following URL.
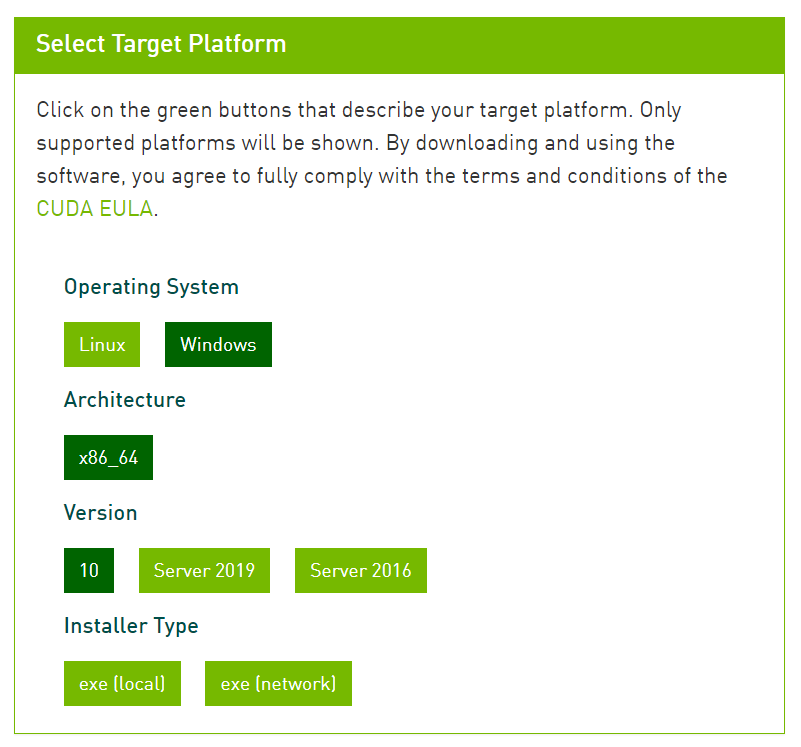
Download “exe (local)” file, Once CUDA toolkit is downloaded, Install on your PC.
Step 3: Download and install the cuDNN
NVIDIA provided cuDNN library with optimized low-level primitives to improve images processing speed of deep neural networks on CUDA supportive GPUs. This URL will provide your access to download your cuDNN archive. But NVIDIA Developer Program Membership Required! So, first signup using your Gmail or Facebook account.
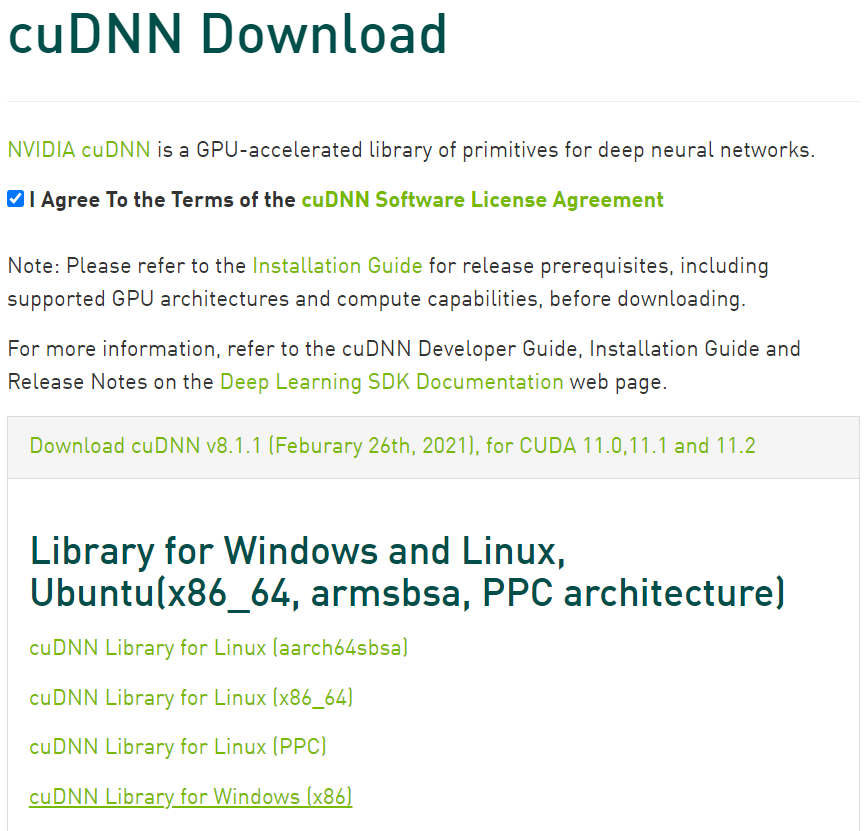
cuDNN library for Windows (x86) is downloaded. And archive extraction process produced a folder “Cuda”. So, you should create one create new folder tool in C:\ drive and place your Cuda in the following address location. “C:\tools\cuda“
Step 4: Setting up the GPU environment in Windows 10
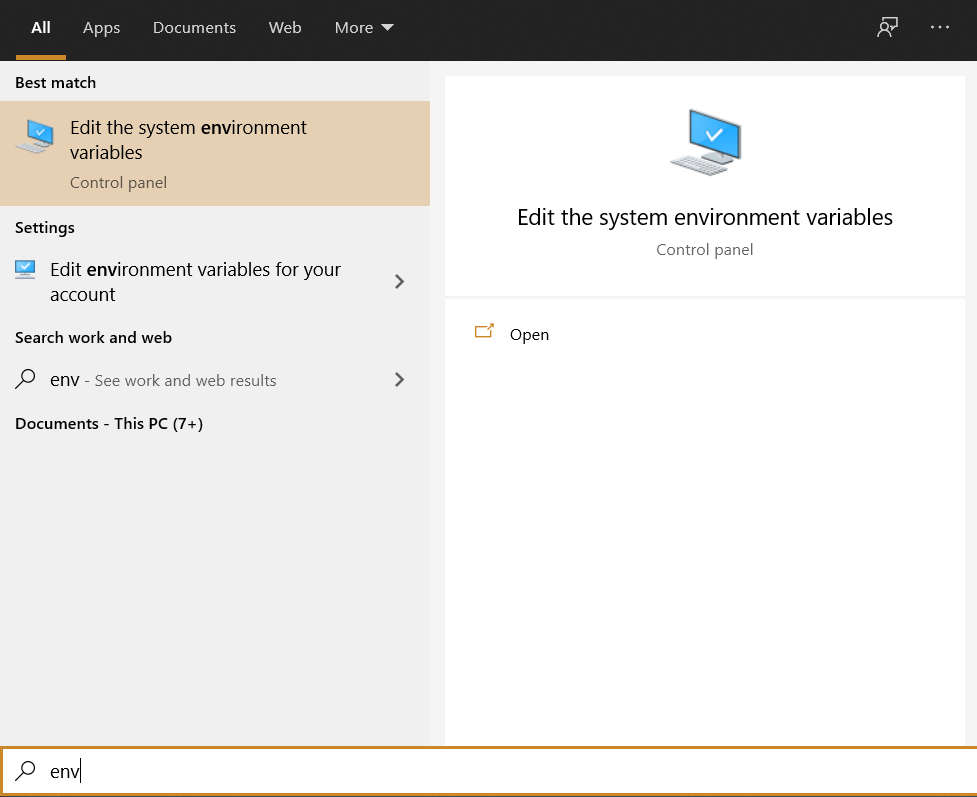
Search in your start menu, “env“, and following “Edit the system environment variable” will Pop-up as below.
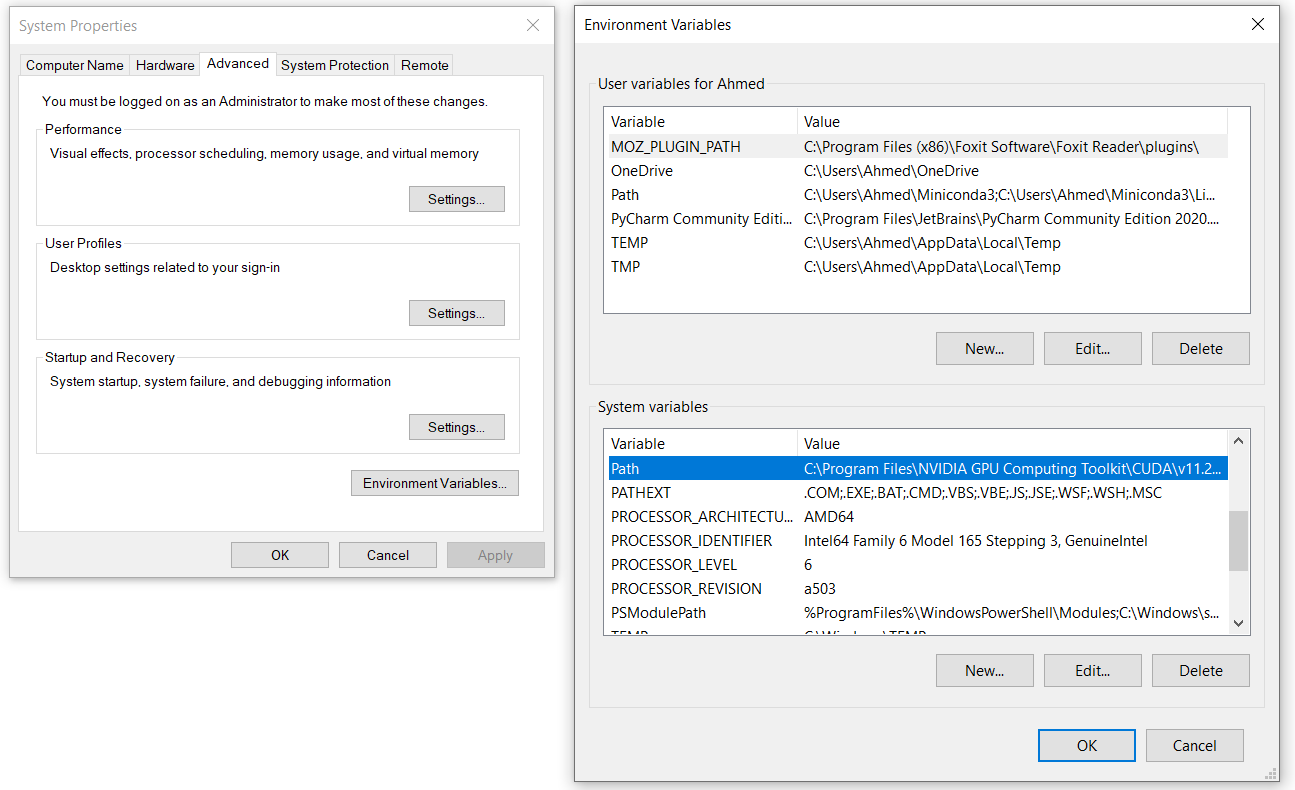
Click on “Environment Variables“, then in System variable, click on “Path“
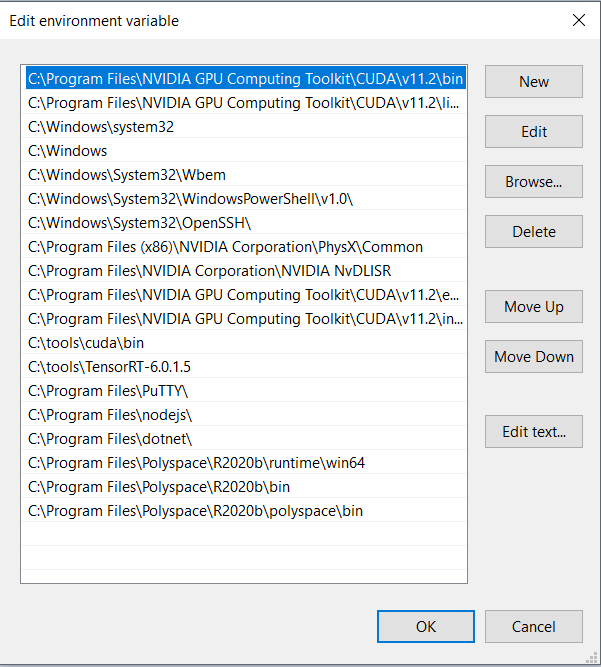
Here, you should make sure following paths already existed or, you can add one by one:
C:\Program Files\NVIDIA GPU Computing Toolkit\CUDA\v11.2\bin
C:\Program Files\NVIDIA GPU Computing Toolkit\CUDA\v11.2\libnvvp
C:\Program Files\NVIDIA GPU Computing Toolkit\CUDA\v11.2\extras\CUPTI\lib64
C:\Program Files\NVIDIA GPU Computing Toolkit\CUDA\v11.2\include
C:\tools\cuda\bin
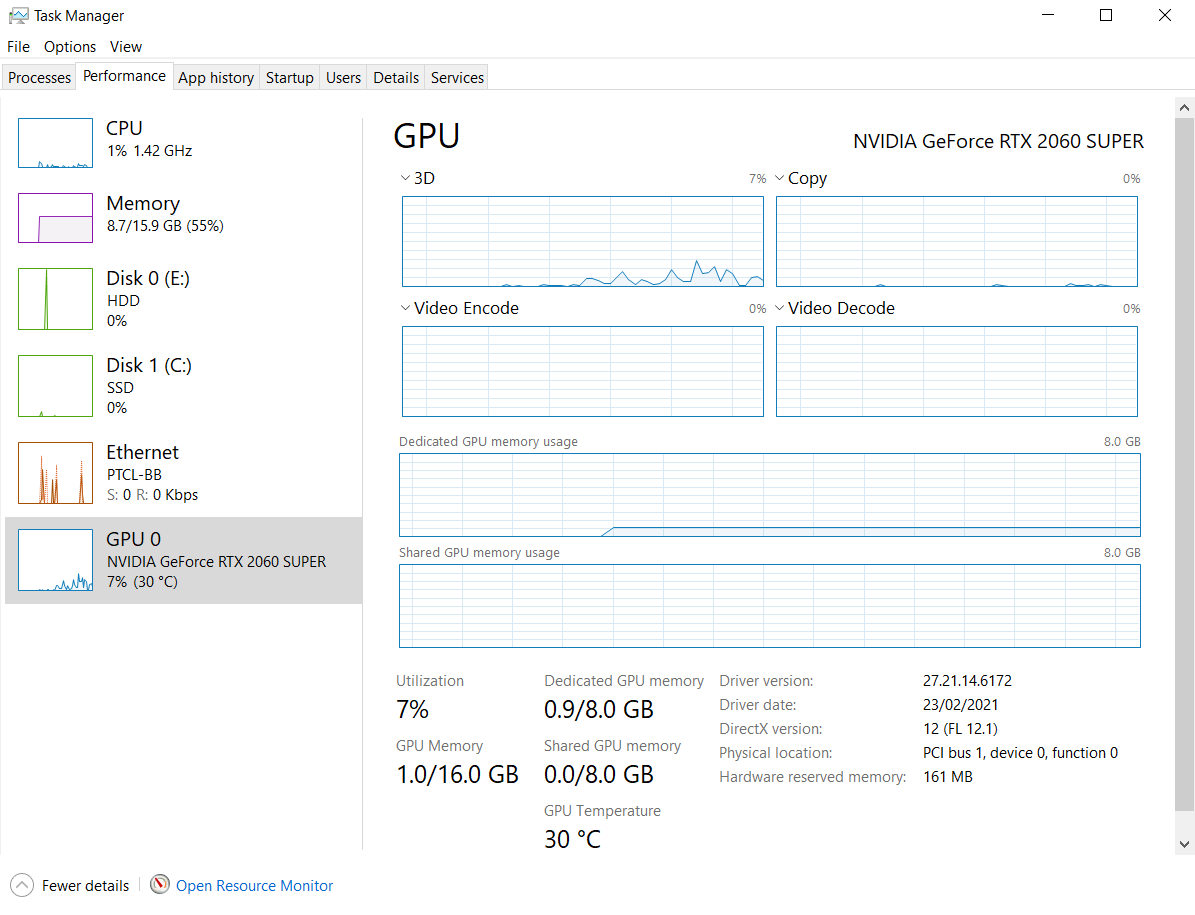
Step 5: Test GPU Insallation
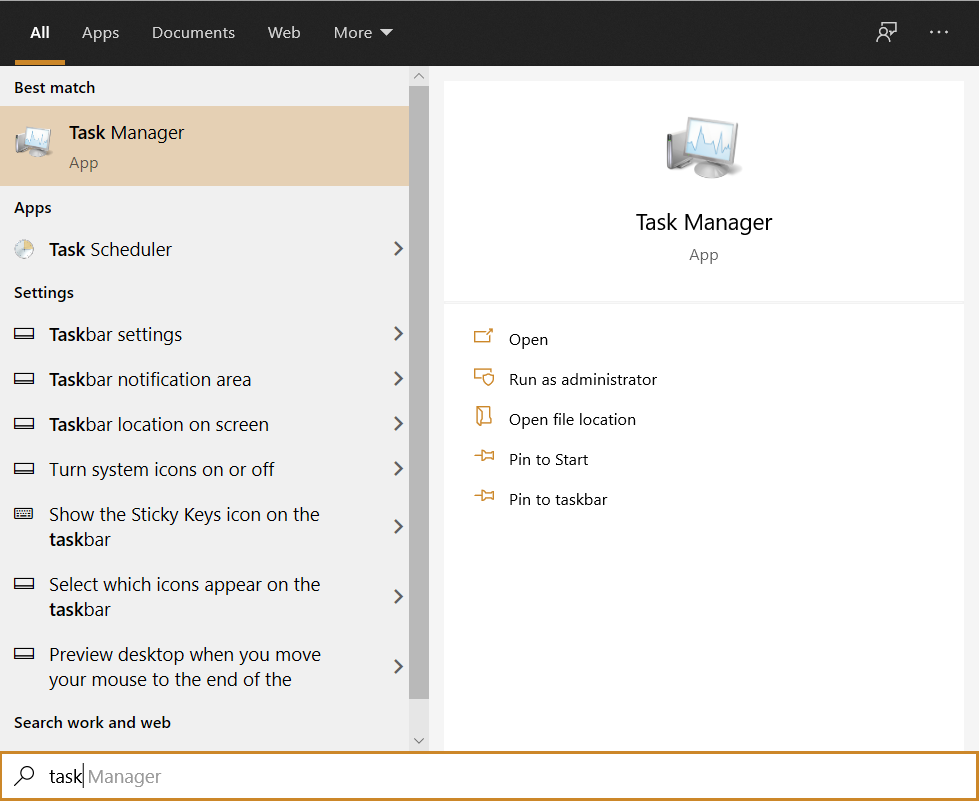
When “Task Manger” is open, click on “Performance” Tab, then “GPU 0“. It will shows your GPU is successfully installed!