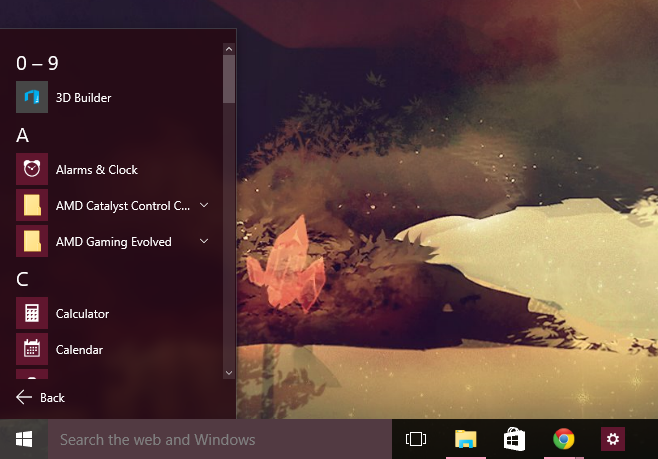
One noticeable change in upgrading to Windows 10 from previous versions is that now when you click the Windows button to open the Start Menu, you are given a list of only your most used apps. To access the full list, you’ll need to click ‘All apps’ which then opens a somewhat cumbersome alphabetical listing of every single app on your system. While it’s nice to have everything there in a list, it can grow very large if you have dozens or hundreds of apps installed and an alphabetical listing isn’t the most useful way to list apps as you might have to repeatedly scroll down to get to the app you want. The space available on the screen can also be an annoyance as the list only occupies a small portion of the side of the screen so icons can be small and scrolling takes longer.
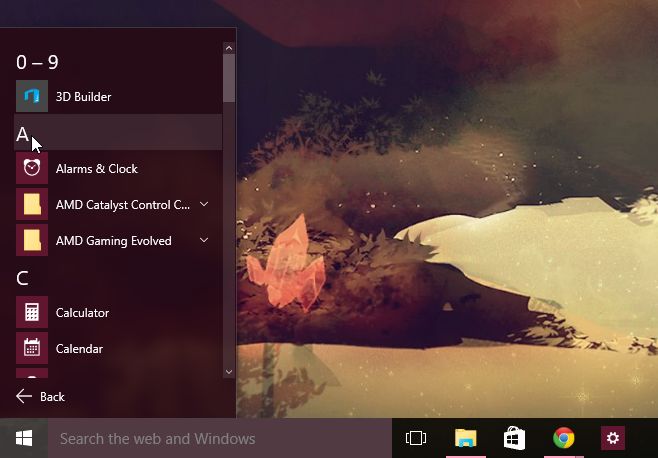
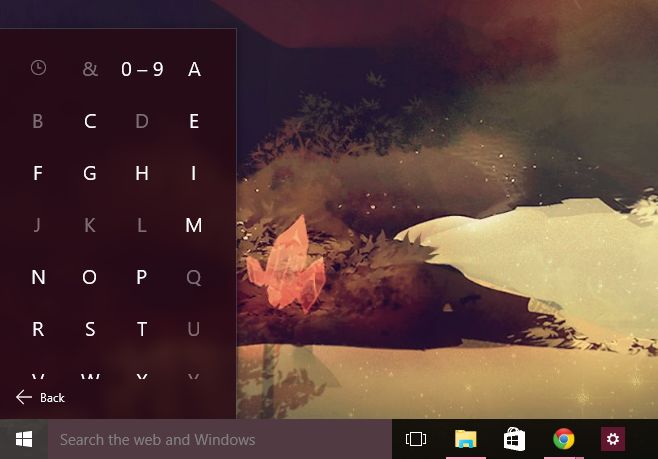
There is however a helpful little tip that can potentially save you a few seconds every time you want to pull up a specific app using the Start Menu. First, click the Windows button to open the Start Menu and then click ‘All apps’ to bring up the familiar alphabetical listing of all available apps. Now, you might have noticed that each letter has its own section with the letters listed above all apps beginning with that letter. What you might not have known is that clicking each letter will bring up an alphabet menu that can be clicked as a shortcut to all entries under that letter.
To use this shortcut menu, simply click the top ‘A’ letter to bring up the alphabet menu and then click the letter that corresponds to the first letter of the app you want to find and open. So you could click ‘A’ to open the alphabet menu, then click ‘S’ to jump to all apps that begin with ‘S’ if you’d like to open Skype. Letters that don’t have any corresponding apps will be greyed out and cannot be clicked so that also saves a little time and searching.
Of course you could also just quickly type the app name in the search bar or add desktop shortcuts but this method is great for those with many apps and who frequently use the Start Menu.


