Windows 7 has been a tried and true OS for years and many users have even held onto it to avoid the often criticized Windows 8/8.1. With Windows 10 here and addressing many of the issues that plagued Windows 8, it’s no surprise many Windows 7 users are considering the free upgrade. You can enjoy a number of new features as well as a modern and more future proof OS. Upgrading is surprisingly easy and takes just a few steps and some patience. Read on to find out how to easily upgrade from Windows 7.
1. Before you begin, check if your copy of Windows is activated to avoid any problems after the upgrade. Right-click on your My Computer icon or on Computer in the Start menu and then select Properties. Under ‘Windows activation’ it will indicate if it’s activated.
2. Back up all of your most important files. The upgrade will preserve everything but it’s always better to have a backup in case something goes wrong.
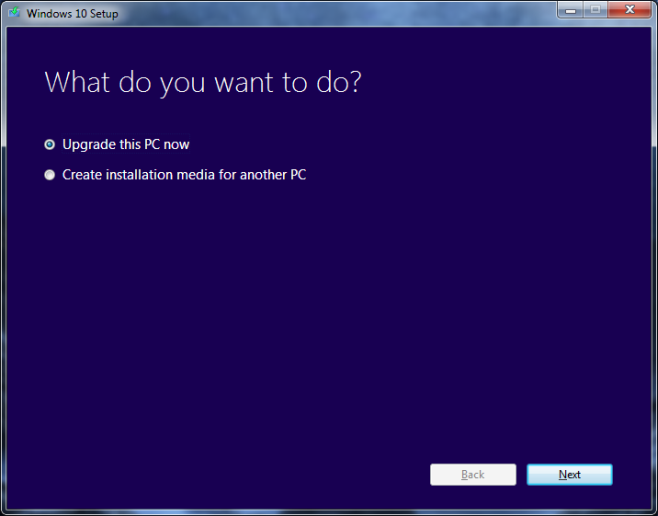
3. Download and launch the Media Creation Tool. This tool lets you make a bootable USB or DVD as well as directly upgrade on your computer.
4. Select ‘Upgrade this PC now’ to start the upgrade process without making a bootable USB or DVD.
5. The tool will begin downloading the Windows 10 files. The files are large so this will take several hours at least. You can continue to use your PC but do not disturb the download window.
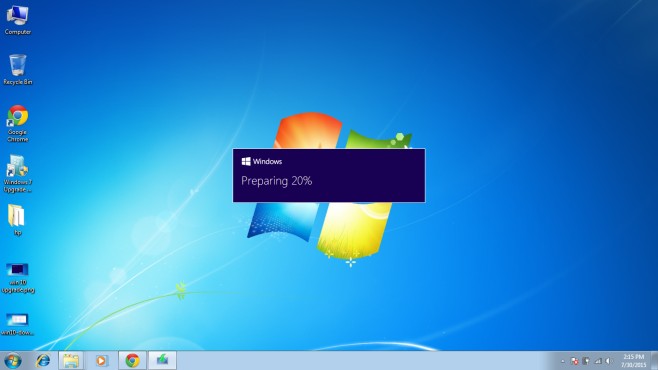
6. Once the download is done, the tool will begin preparing the installation. You will be asked if you want to search for updates. You can skip the updates and perform them after the install or search for them at this time.
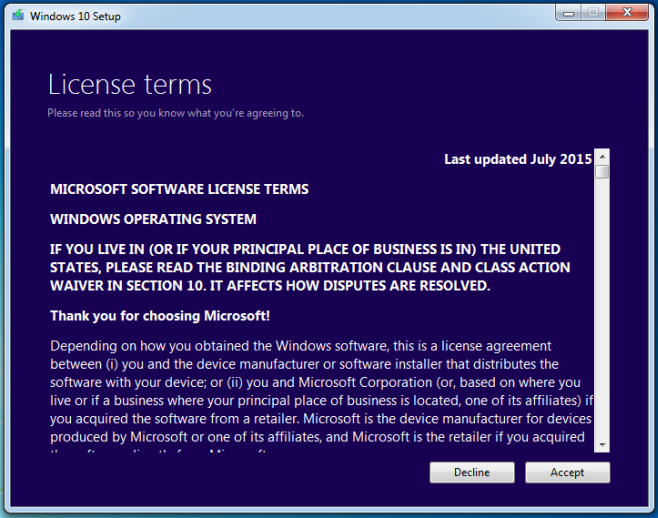
7. Now, after a few more windows you’ll be asked to accept the License terms, click ‘Accept’.
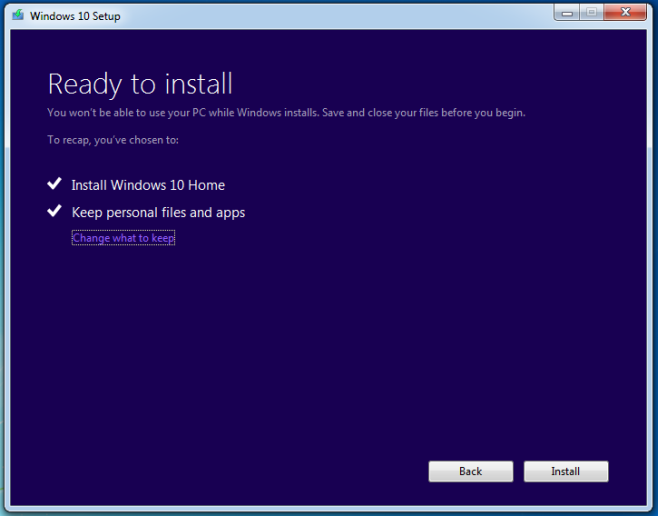
8. Now you can choose to keep your existing apps and files or you can delete everything and have a clean install. Be very careful here to select ‘Keep personal files and apps’ if you don’t want everything to be deleted.
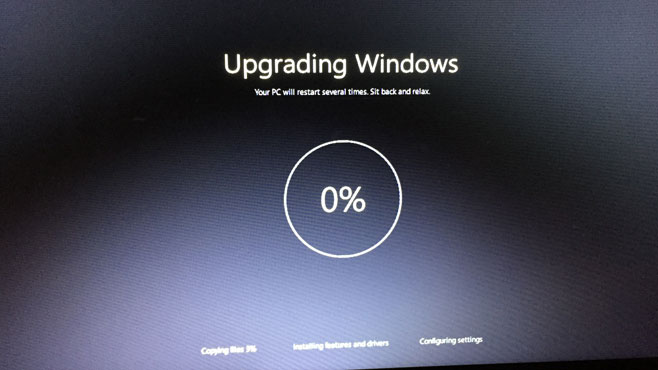
9. Your PC will install various files and restart several times and then you can enjoy your newly upgraded Windows 10 PC.

