If your Mac is connected to a network via an ethernet cable but there is no associated WiFi hotspot, you can actually create one using the Internet Sharing feature in Mac OS X. This is incredibly useful for sharing your internet connection with other devices without an ethernet cable. You can also use this technique to boost your WiFi network by forwarding the WiFi connection through your Mac if it is receiving a good signal. Just follow these quick steps to create a shared WiFi hotspot using only your Mac with a wired internet connection.
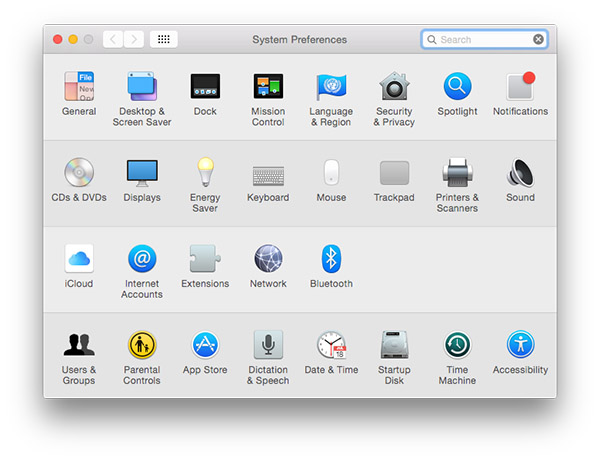
1. Open System Preferences, then select Sharing.
2. Now, check the box titled ‘Internet Sharing’ on the left. Then under ‘Share your connection from:’ select ‘Ethernet’. If you have a more recent MacBook, this might be titled ‘Thunderbolt Ethernet’ instead.
3. Beneath that, under ‘To computers using:’, check the box for ‘Wi-Fi’.
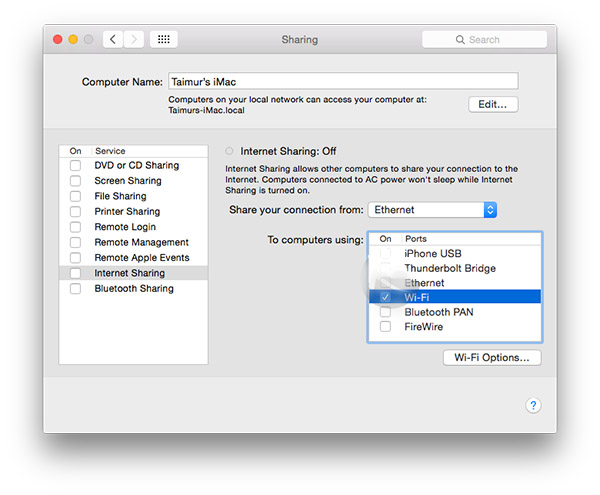
4. Now click the ‘Wi-Fi Options’ button below to begin configuring your new hotspot.
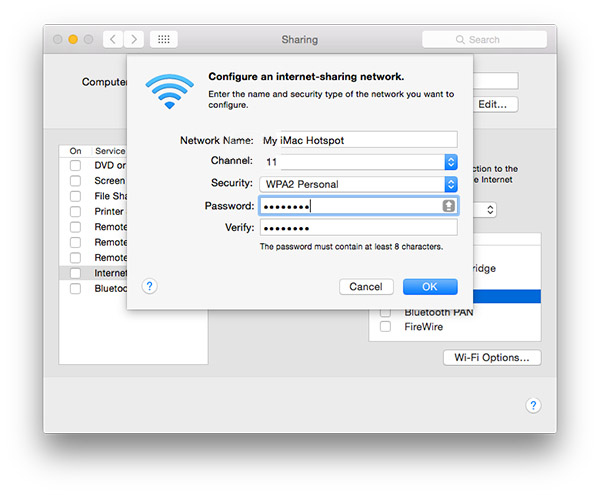
5. For Network Name, enter the name you’d like to be broadcast for the new hotspot. This is equivalent to an SSID.
6. You can also set a wireless channel, security type, and password for your hotspot. Click ‘OK’ when you’re done changing the settings.
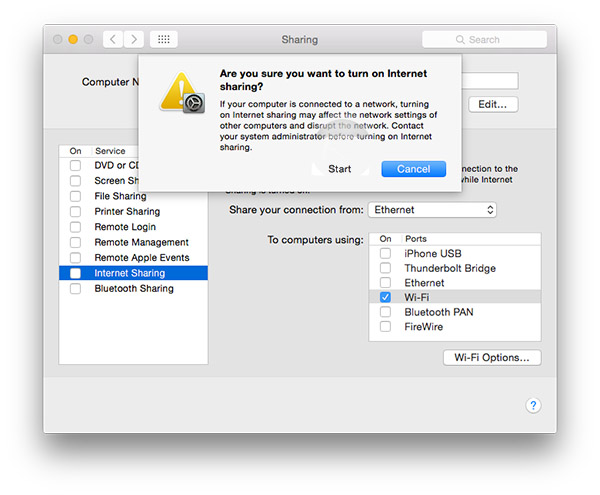
7. Now back in the Sharing window, check the box for ‘Internet Sharing’ and then ‘Start’ in the confirmation window to create the WiFi hotspot.
With your WiFi hotspot created, you can now connect any number of devices wirelessly to this new hotspot. It’s also a great way to create an additional network for guests or family that can remain separate from your main internet or wired connection. Unfortunately this technique only works if your Mac has a wired ethernet connection and will not work if you are only connected via WiFi in the first place. If you want to forward your WiFi connection you’ll need a separate USB WiFI adapter.